Construction of the Hearth Wall:
First we put up the pieces of plywood. This is so I could figure out how high I wanted the wall.

Air makes the best insulator. So I put spacers on one side of the plywood to create a vent behind the tiles. This way the actual wall doesn't get too hot. The spacers are copper pipe cut an inch long. There are ceramic spacers that can be purchased online. But, they cost about $16 just for 10 of them. For the whole wall we cut about 40 pieces for less money than one bag of spacers. The holes for the screws were pre-drilled before I glued on the spacers. That way the spacers will sit snug against the wall once the screws are put in.


Attaching the Durock to the plywood.

Even though we left the plywood standing up to figure out the height, I still ended up changing it after the durock was screwed on. Took 6" off the top.

I smoothed on the mortar. Once it was dry I sanded it to make everything even, just like with the base.

Just like with the base, the tiles were cut for free at Lowe's since we purchased them there. Not such a good idea for this amount of cuts. Most of the small tiles weren't cut evenly. Alex and I were going to buy a tile cutter. But, when we were talking to a Lowe's employee he informed us that if we bought the tile there, they would cut it for free. We asked if that meant unlimited cuts. He said "yes, as long as they are all straight lines." Next time we'll spend the $100 and get our own tile cutter. We kept bickering about whether they did it to spite us... because we had brought in so many tiles to be cut. They didn't seem too happy to see us when we picked them up - oh well - live and learn.

Laying out the two sides of the wall.
We did one row on one side than moved to the other. That way the tiles on the bottom would have a little time to set before putting the row above them on. At this point we just wanted to be done already. It was hard spacing out the tiles so the unevenly cut tiles weren't as obvious.


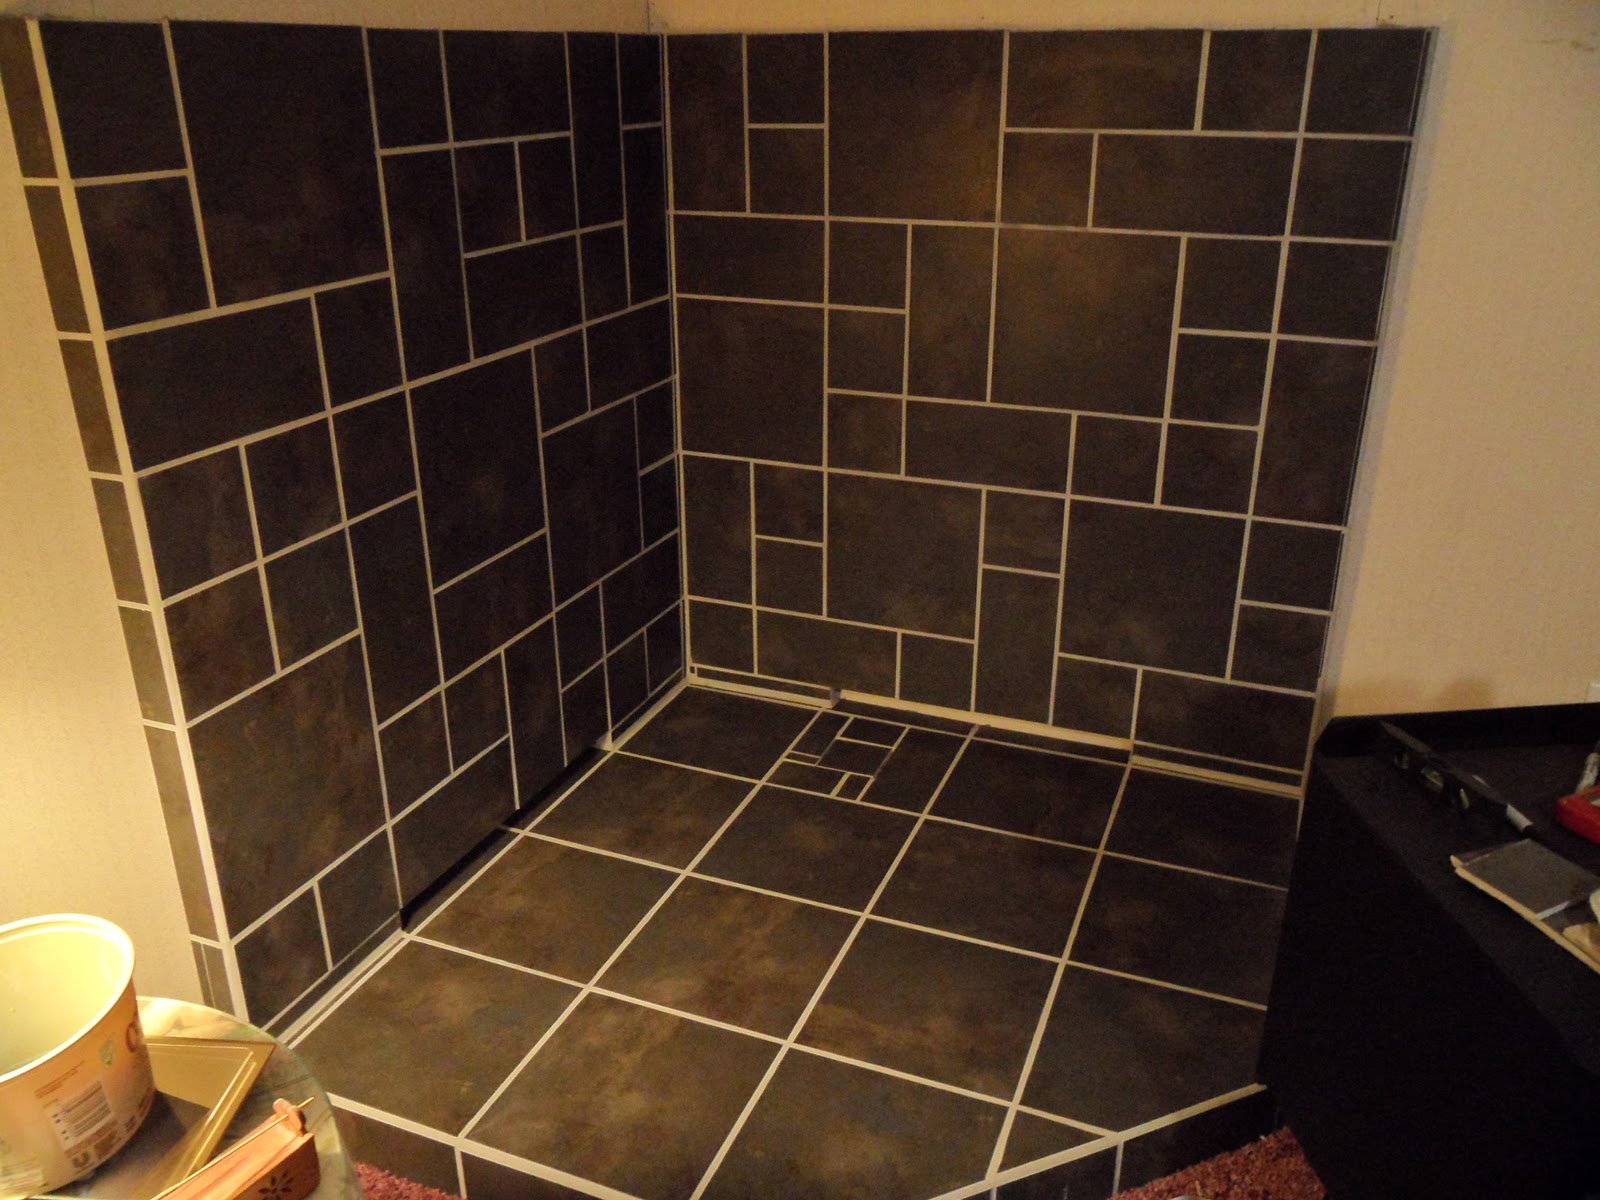
Last tile being laid!!

This is the wall before I grouted.
The following picture is when I first started grouting. A good thing to remember - mix just a little bucket of grout. Once that's finished go and wipe off the excess grout on the tiles with a lightly damp sponge. This way you won't have to bother scrubbing and rubbing it off once it dries.

1st Picture: grout residue that refused to come off

2nd Picture: after the vinegar cleaning.
I was going to go to the store and buy grout haze remover. But, the haze wasn't on all of the tiles and wasn't that bad. So I looked up other avenues online. I mixed white distilled vinegar with water 50/50. If you have light grout or light colored porous tile, watch out for the color of your sponge. The vinegar will cause the sponge to bleed and you wouldn't want blue or green tinted grout or tiles!
If you have a heavy glaze in a large area, I would recommend buying an actual grout haze remover like this one: Custom Building Prod. TLGHRQT-3 TileLab Grout Haze Remover
Even with the small, light area of haze that I had on my tiles, there was a lot of elbow grease and multiple pass-overs involved.
Now all that's left to do is seal the grout. :-)


2 comments:
GREAT JOB, YOU ARE BECOMING AN EXPERT AT EVERYTHING YOU DO, GARDENING, COOKING, STAINING, AND TILE INSTALLATION. TALK ABOUT BEING PROUD, YOU GO GIRL!
LOVE YOU, MOM
Wow! that was a lot of work. It sure pays off because it looks really nice and you should feel very proud :)
Post a Comment